With the new year comes a new (woven) wallet. I’m still very much a cash person which probably comes from the fact that I’m still living here in Bolivia. I had the experience of almost going hungry while spending an eight-hour layover in Atlanta airport recently. I couldn’t find a place that took cash but in the end was able to buy a yoghurt from a juice bar. It wasn’t quite the full American breakfast I had been promising myself after the long overnight flight. For a variety of reasons I didn’t have usable cards on me. Even the vending machines only accepted cards!
Mind you, Bolivia is moving along rapidly. It’s not unusual to see vendors in the street market displaying signs with their QR code on their humble stands. I find it’s way too easy to spend when using a card or electronic device. I prefer to go to the market with X amount of Bolivianos in cash and thus oblige myself to stay within budget.
If I were superstitious, I might think that I’m jinxing myself by starting the new year with an empty wallet! On top of that, I didn’t wear yellow underwear on New Year’s Eve which is the local superstition for attracting money. Red underwear attracts love.
If you read my last post, you’ll know that I wove a sample using my handspun cotton singles thread in preparation for this wallet project to see how it would stand up to being used for pick-up patterning. It involves a lot more handling than simple plain weave.

The sample gave me the information that I needed for calculating the number of ends that would give me the right width for the wallet. I dyed some of my handspun cotton dark blue and black.

However, in this case, I was not. I had neglected to dye some of the thread for weft. I could have got away with using white weft because I was after all planning to edge the piece with a tubular band which would cover the selvedges, but there’s always a chance that I’ll change my mind and go in another direction, in which case I wouldn’t want to see the dots of white weft at the edges. So, it was back to the dyepot. Luckily it’s summer here and things dry really quickly.
I decided to use part of the sample pattern that I had designed. And because I loved both faces of my sample band, I decided to plan this so that both possible faces could be seen at the same time.


I got the idea of using the sample warp as a coin purse on the back of the wallet. I am always dismayed by the amount of coins I seem to accumulate when I am traveling. Australia has dollar and two-dollar coins (no one and two-cents) and the fifty-cent piece is huge. It’s not unusual for me to be carrying up to twenty dollars in coin! And in the US I’m forever handing over notes to pay for things because I never know how much something will cost until the tax is added at the register. With a line of people behind me, I don’t want to be scratching around in a tiny coin compartment for the right change. Urgh….all those pennies!
So, I wanted a large coin compartment from which I could quickly and easily fish out what I needed as well as comfortably carry all those bulky Australian coins.
This meant that it would be a waste weaving pattern for the back of the wallet only to have it covered by the coin purse. I got to do some plain Andean Pebble Weave instead which certainly accelerated the pace of this project. I returned to the pattern just to weave the final section for the closure flap.

As usual, fusible interfacing was my friend when It came to cutting the cloth. I had a selvedge at one end but I cut a curve at the other for the closure flap. I used some black fabric that my friend Claudia had given me for the lining and to create the pocket for bills. All these pieces got held nicely in place by the tubular edging. The woven tubular edging that I use is woven and sewn at the same time around the edge. The sewing thread doubles as the weft. It fully encloses the edge rather than just perches along it. It’s a wonderful way to stabilize and protect cut fabric.

It can be plain (which is how I wove it for the wallet and the bag flap above) or patterned as you see below in the edging I used for a wrist cuff.

You need to get creative with how to hide the cut unwoven warp ends when you have stitched around and returned to the beginning. On the wrist cuff, I wrapped and sewed the cut end to the cloth. It wasn’t pretty but it was secure. I then covered it with a button which was part of the button-and-loop closure that I often use for my wrist cuffs.

For my wallet, I simply sewed a small tab of black fabric to cover the join.

Then came the task of figuring out card slots, zippered sections etc. on the inside. I created some black stitched shibori fabric for this. I included an unusual tiny pocket that I have always wanted to have in a wallet….a pocket that can only hold my door key. Nothing else fits! I get fed up with searching for my key in pockets amongst all the other paraphernalia that accumulates there.


Here’s the coin purse on the back of the wallet…..

And because I am skilled in creating expandable sides after my two recent folder projects, I added expandable sides to this purse. It’s very easy to get my hands inside, quickly find the right coins and avoid receiving yet more unwanted change.

So, wallet number one is complete. As I mentioned in my last post, I think I’ll make another using an ikat pattern this time. I’ve crunched the numbers and can start warping.

Here’s a reminder that I wrote a tutorial some time ago showing how I cut and prepare my woven fabric to take the woven tubular edging. At the end of the tutorial there’s a link to the tutorial that shows how I weave the actual tube.
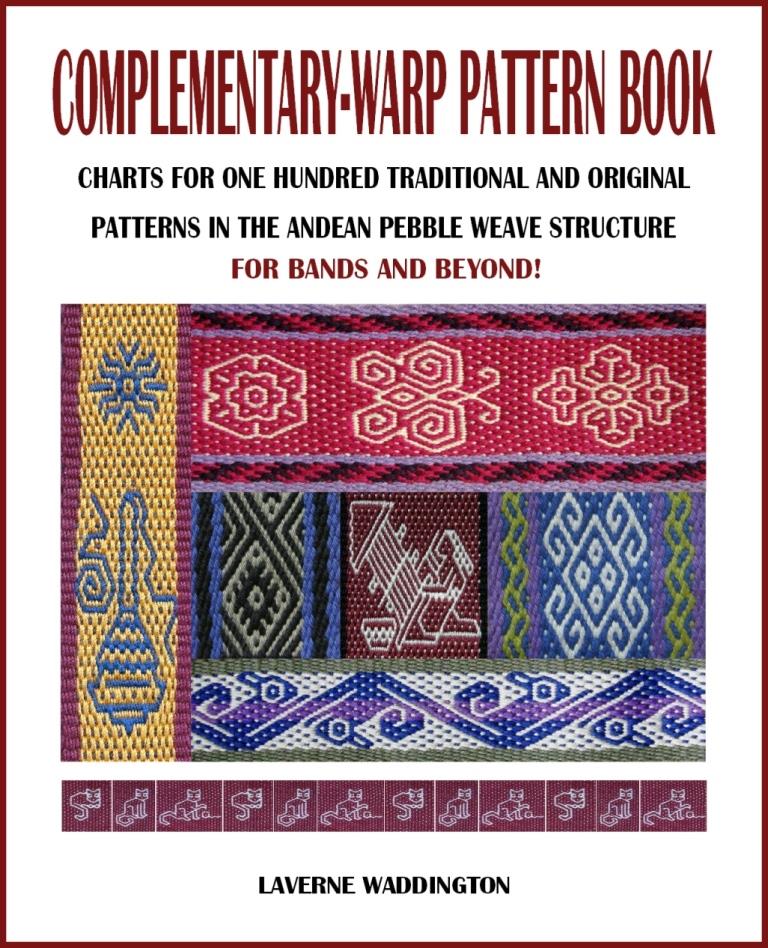
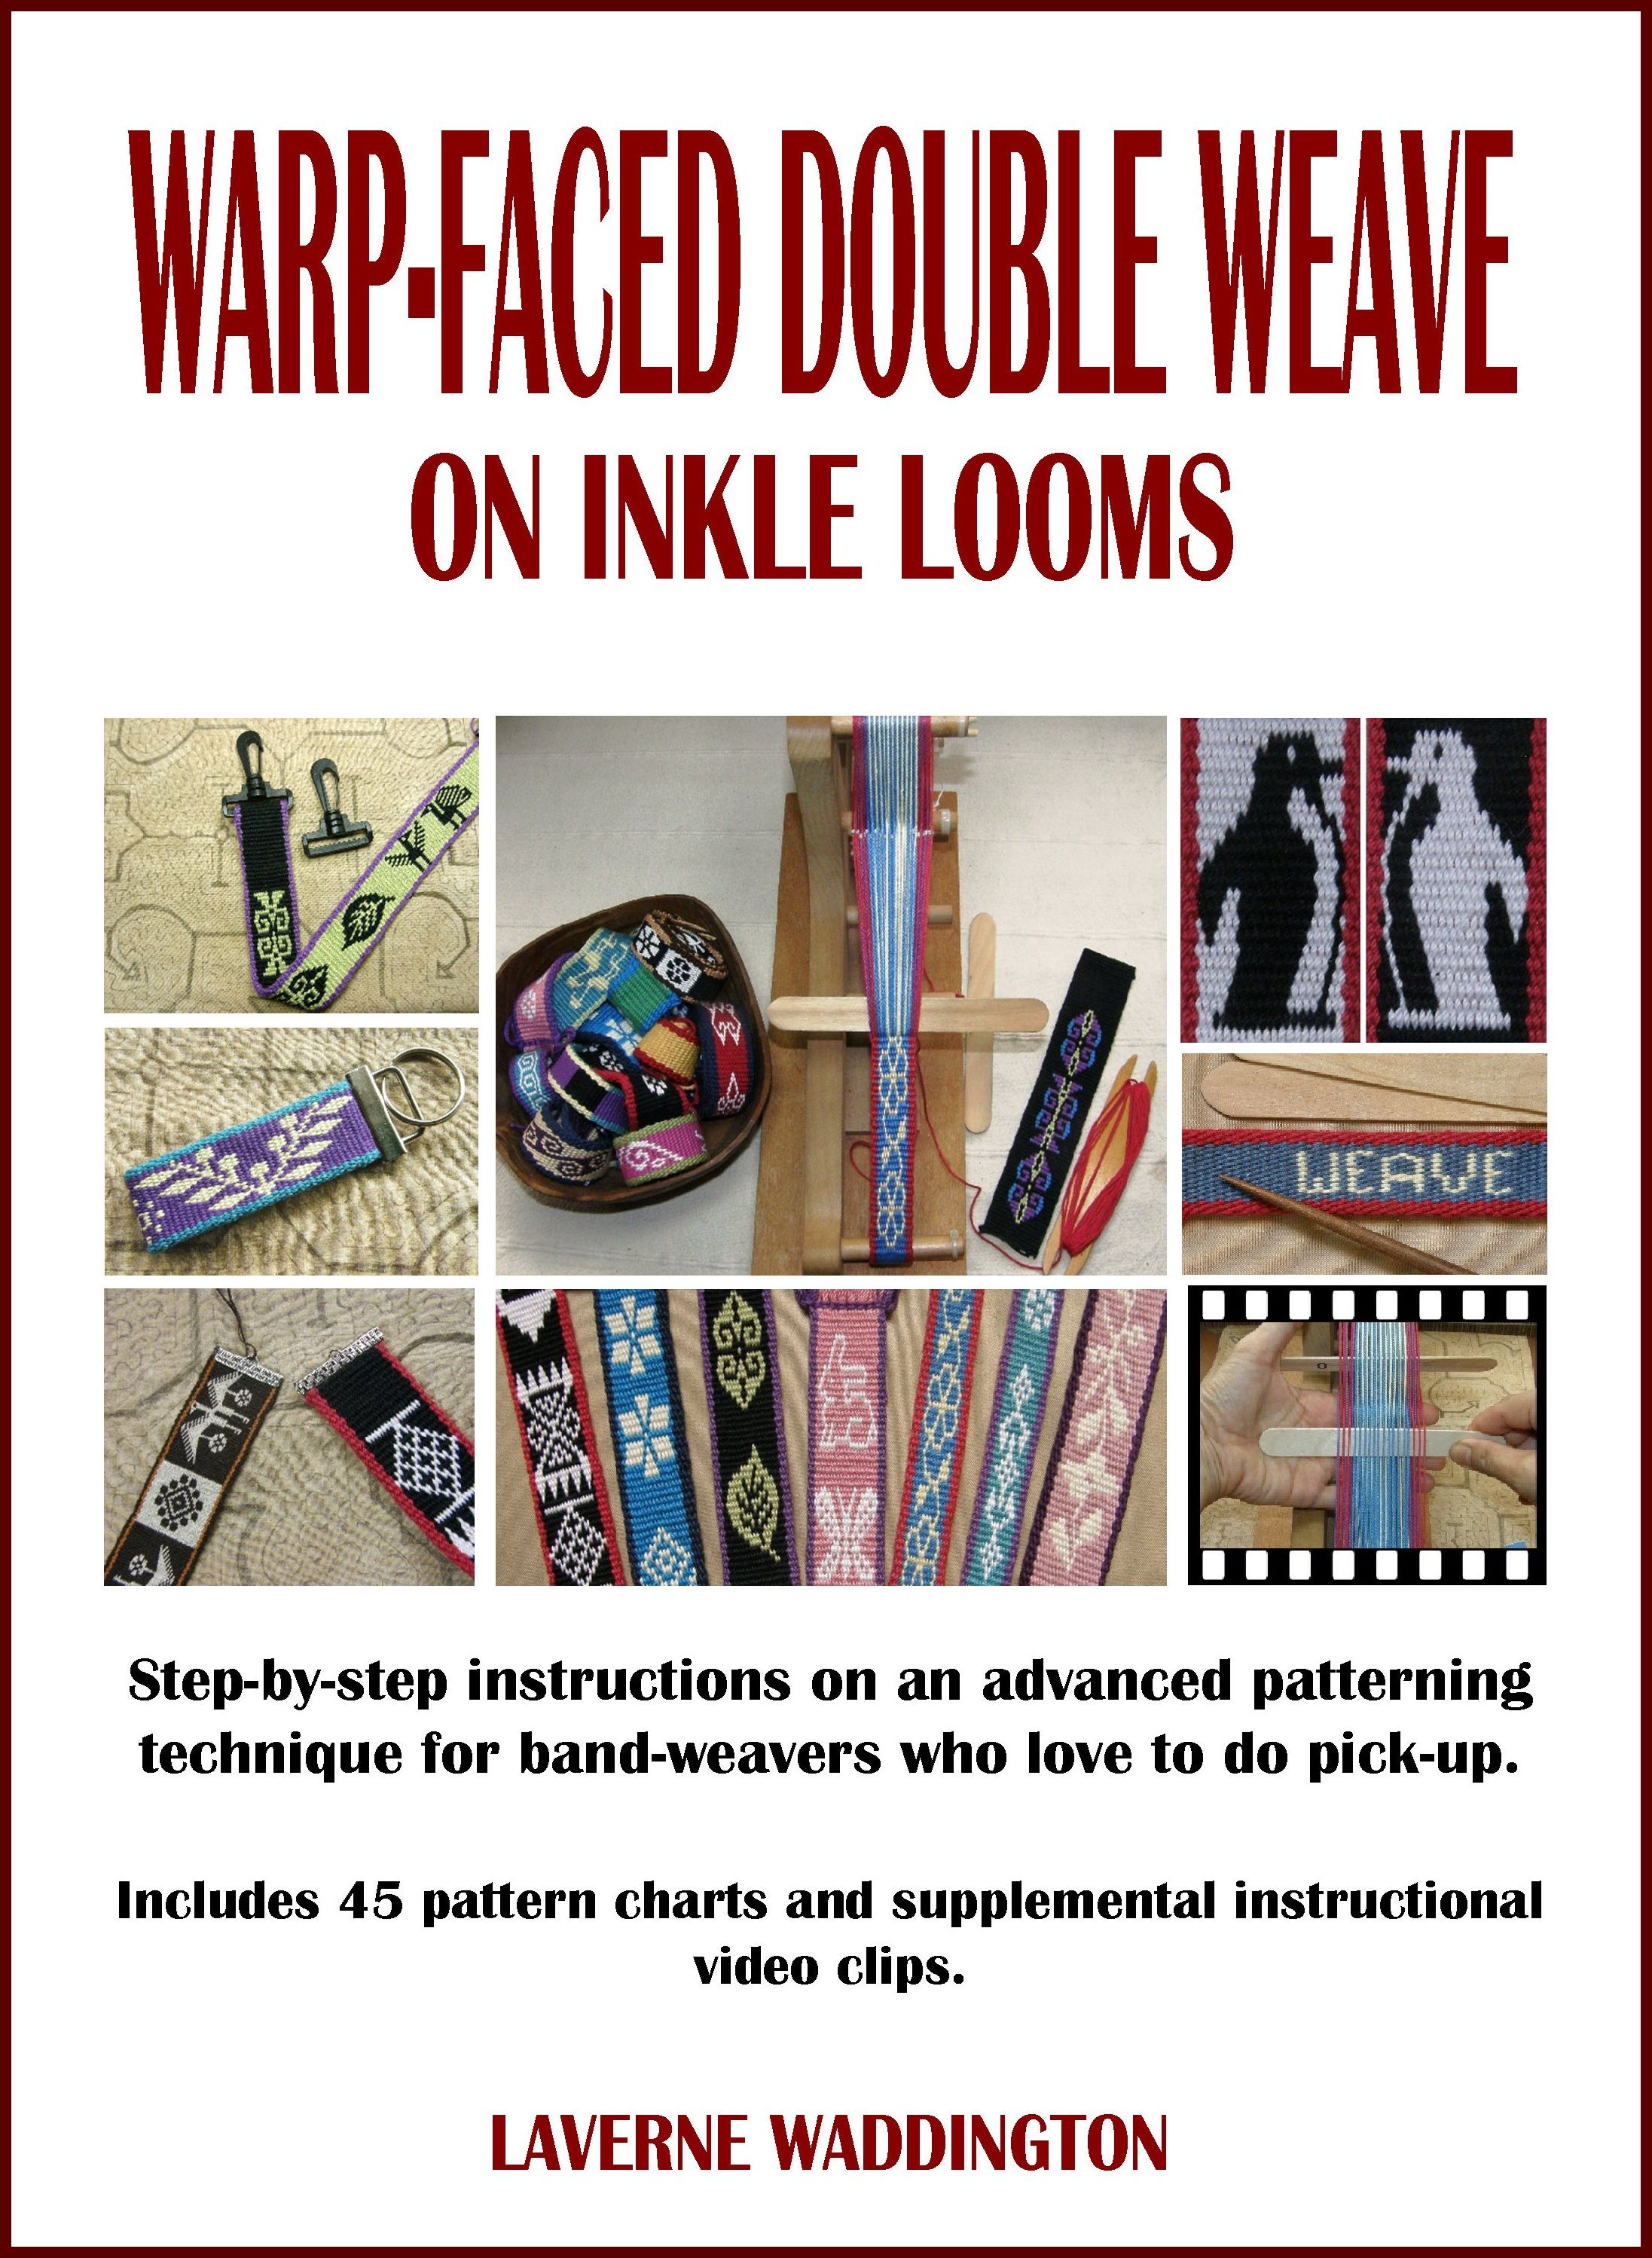
I’d also like to give a big thank-you to those who responded when I plugged a couple of my books in my last post. Thank you for your support!
I hope you’ve had a wonderful start to the new year. Take care and see you next time.


It’s impressive that you used your handspun cotton singles for this project, especially using blue and black dyes. Those colors can be so harsh when dying. Beautiful and creative as always!
By: tscweaves on January 5, 2024
at 2:42 am
Thank you so much. I’ve never given any thought to the potential harshness of those dye colors. Thanks for mentioning it. I do have some old 20/2 thread in black and another color and noticed how much weaker the black has become with age.
By: lavernewaddington on January 29, 2024
at 6:44 pm
Hi, Laverne,
Just writing in to say how thorough and exact I found your instructions, diagrams and illustrations in the eye pattern tubular weave book. I was able to weave it right the first time. Thank you! An impressive feat of intellectual organization and communication! Best regards, Ann Pettit
By: Ann pettit on January 15, 2024
at 10:09 pm
Wow, what a lovely comment! Thank you so much for taking the time to drop me a line. I love that you’re enjoying the book.
By: lavernewaddington on January 15, 2024
at 11:33 pm
Greatly. I’m going to try the other edgings too after I can weave the eyes from memory.
By: Ann Pettit on January 15, 2024
at 11:52 pm