 This is a list of steps for those of you who have put a backstrap loom together, are ready to weave your first project, and are asking “Where do I start?” I have put together here a description of the various tutorials that I have made available online and the order in which I recommend following them.
Take it slowly, follow these steps and develop your skills before you attempt the more complex techniques like double weave and Andean pebble weave. Remember that there is also a long list of Frequently Asked Questions on the side bar of this blog that can help you along the way.
Since putting this page together I have made two new videos. Watch Basic Warping for Backstrap Looms here.
And my video on Operating a Backstrap Loom is available for streaming or as a dvd on Taproot Video.

 I recommend you read my article on WeaveZine called “Backstrap Basics“ first which, through step-by step photos and videos, will show you how to set up your loom and weave a narrow and wide plain weave single-color piece.
The plain narrow band above that I wove for this tutorial is now the sides and strap for a small shoulder bag.
The article goes on to show you how to set up and weave a wider piece which can be made into the backstrap for your loom.
Many members of the Backstrap Weaving Group at Ravelry and Weavolution have woven their own backstraps following this tutorial using plain and variegated yarns for different effects.

Backstraps by, from top left, dognapper2, bibi, kimo and cathyz.
My video on Operating a Backstrap Loom is available for streaming or as a dvd from Taproot Video.
#####################################################

 Moving on from there you may want to continue practicing making warps with even tension, making the string heddles, opening the sheds smoothly and weaving neat selvedges by weaving more bands but, this time, incorporating some simple stripes for interest like the examples at left.
This is a nice way to use up some odds and ends of colored yarns in your stash. Be adventurous with your color combinations! Perhaps you would like to try finer yarns.
When winding a warp with several colors, wind your normal figure-of-eight warp with your first color around two stakes as shown.
 labeled")

Cut your first color at the starting stake, tie on the next color and continue winding. Join on all colors at the starting stake and put that end of the warp on your far loom bar when you set up to weave. It is always a good idea to untie the start and end loops once you have set up your loom and retie the first and last warps tighter as these two warps tend to get slack while you are weaving. Or, you can just anchor the start tail of color 1 and wind the yarn and then cut and tie the finish tail of yarn to the start tail. Do the same with each color so that each one is tied off independently. This is now my preferred way of winding a warp with multiple colors.
Watch my video on Basic Warping for Backstrap Looms here.
More stripey inspiration from Bobbie:

##########################################################
 Supplementary weft patterning is a beautifully simple technique that allows you a lot of freedom in your color choices for your patterns. All you need to know how to do is wind a warp for basic plain weave and read the pattern charts shown in the tutorial embedded in this post.


 The key to success in this technique is choosing the right yarns but it also important to be comepetent in plain weave and able to produce a good warp-faced band with nice even edges.
The colored patterning weft yarn needs to be much thicker, or better said, “wider” than the ground weave yarn (the white yarn in the above example). For that reason I would prefer to use, for example 6 strands of fine yarn for the patterning weft rather than two strands of a thicker yarn. The six fine strands will sit side by side on the surface of the cloth and look very ribbon-like. I find that this also gives the supplementary weft a nice sheen.
A patterning weft yarn that lies flat is ideal.
I find that using embroidery floss for the colored patterning wefts works best. I double the strands and they lie nice and flat on the surface of the weaving and provide enough coverage from one weft pass to the next. A 24wpi yarn like the number 3 crochet cottons sold in the US makes a good ground warp. When using embroider floss, I pull out each of the 6 strands from each length of floss and then place them back together again. A length of floss has a small amount of twist in it. Removing the stards one by one, removes the twist and helps the 6 strands lie flat, giving better coverage and sheen.
Ann Littlewood’s supplementary weft patterned bands can be seen at left.
######################################################

 Your next project could be a band with striking horizontal stripes. This involves a rearrangement of the basic warp cross which is a new skill to be learned.
You will be preparing a warp with two colors for this band winding perhaps for a solid color border and then an area of horizontal stripes. The simplest way for a beginner to wind this warp and maintain even tension is to wind two colors at once.
The following drawing shows a warp being prepared with two colors, a border of solid green and an area of red and yellow stripes. The red and yellow yarns are tied onto the green together and these two colors continue the figure-of-eight path together.

The figure-of-eight path with the two yarns together is shown in the next drawing…


 The warp will look like the one above left when it comes off the warping board with the cross sticks in place.
In order to weave horizontal stripes you need to rearrange the warps so that they are arranged like those in the warp above right.
You will use your fingers to rearrange the warps as shown here at left. The green border warps don’t need any rearrangement so just place those on the upper stick on your index finger and those on the lower stick on your middle finger. Separate out the reds and yellows on your two fingers. It doesn’t matter onto which finger you decide to place the two colors.
Replace your fingers with cross sticks and you will have your new cross. Make string heddles around the warps on the lower stick and use a shed stick or loop for the warps over the upper stick.
A more direct way of achieving this arrangement on the warping board itself by using four stakes, can be seen in my video Basic Warping for Backstrap Looms here. Method 2 in the video will show you how.
Horizontal bars can be added as an accent to other designs like the narrow black and white bars which separate the stripes on these small purses I made recently.

##################################################
Once you have completed your band with horizontal stripes, there are two options that I can recommend for your next project.

 1. Simple warp floats (pictured above). In this technique motifs can be woven on a base of horizontal stripes.
There are video clips showing this technique here. The full tutorial with step-by-step photos and video is here.
Aunt Janet and Franee wove the bands at left using simple warp floats on a base of horizontal stripes for their patterns.
Often neglected, this technique is wonderfully simple  and can produce some beautiful designs. I learned it in coastal Ecuador but it turns up all over the place. It appears to have been used to decorate the gorgeous Iranian bag at right which was warped for black and white and red and tan stripes all in the one piece.


![]() 2. Comb designs.
2. Comb designs.
These are a combination of vertical and horizontal stripes and you will wind your warp as you did for horizontal stripes with your two pattern colors together.
Using the black and red band above left as an example, you will wind black warps for the border, followed by black and red together.
Then you will wind red alone to create the central vertical stripe followed by another section of black and red together.
The beautiful 40 ft piece at left described as “TransCaucasus” has four sections of black and white combs amongst red, blue and yellow stripes. I am dying to weave something like this!
 The warp at left comprises four revolutions of black yarn followed by two revolutions of black and orange.
The central stripe comprises two revolutions of orange alone which are followed by another two revolutions of black and orange together. It finishes with four revolutions of black.
The cross will look like this as the warp comes off the warping board.
The cross needs to be rearranged to look like this…


By playing around with different arrangements of vertical and horizontal stripes, you can create other patterns like the ones above left . Above right, is a close up of the weft and the way it lies at the edge of the weaving. Creating neat selvedges can be challenging at first. I used a weft in a contrast color so that it would show up at the edge and give you an idea of how it sits.
A more direct way of separating colors into the different sheds on the warping board itself by using four stakes, can be seen in a short video segment here.
Jennifer has used various combinations of stripes and horizontal bars in her pieces below.

###############################################

 In this more advanced Guatemalan technique, patterns are formed by laying in supplementary wefts or wrapping them around warps. Different shapes can be woven and filled and it allows freedom to choose your colors as you go.
A two-part tutorial here shows you how to create the patterning sheds to weave these kinds of designs and how to form the shapes. The tutorial has step-by step pictures and a video.
You should be competent with weaving basic supplementary weft patterns before attempting these more advanced supplementary weft patterning techniques.
#####################################################
![]()
This technique gives you a good introduction to the skills that are necessary for complementary warp weaves. You can weave motifs on a solid color background. It is not, however, a double faced weave and you will have long floats on the back of your piece. This technique is used by the Bedouin people to weave tent dividers among other things…

The designs in black and white on the above piece have been woven in the warp substitution technique. The tutorial can be seen here.
Learning this technique will prepare you well for the advanced double-weave technique that I teach in my book Warp-faced Double Weave on Inkle Looms.
##########################################

The next logical step, for me, would be the more complex form of simple warp floats which you can see in tutorials here and here. Do the “X and O” tutorial first as this has more detailed instructions. The “S” design tutorial is less detailed and assumes that you have had practice with the steps from having done the “X and O” one. Below on the left is what was originally intended to be a cell phone pouch but which ended up being used for something quite different. On the right is a belt made using the border design on a Kyrgyz yurt band.

")
Above is the Kyrgyz yurt band which inspired my exploration of this patterning technique.
###################################################
Here this list of techniques and tutorials ends. On another page soon I will list more advanced techniques which begin with the basics of complementary warp patterning. Don’t forget to incorporate some of the braids and finishes also detailed in this blog into your pieces. 🙂
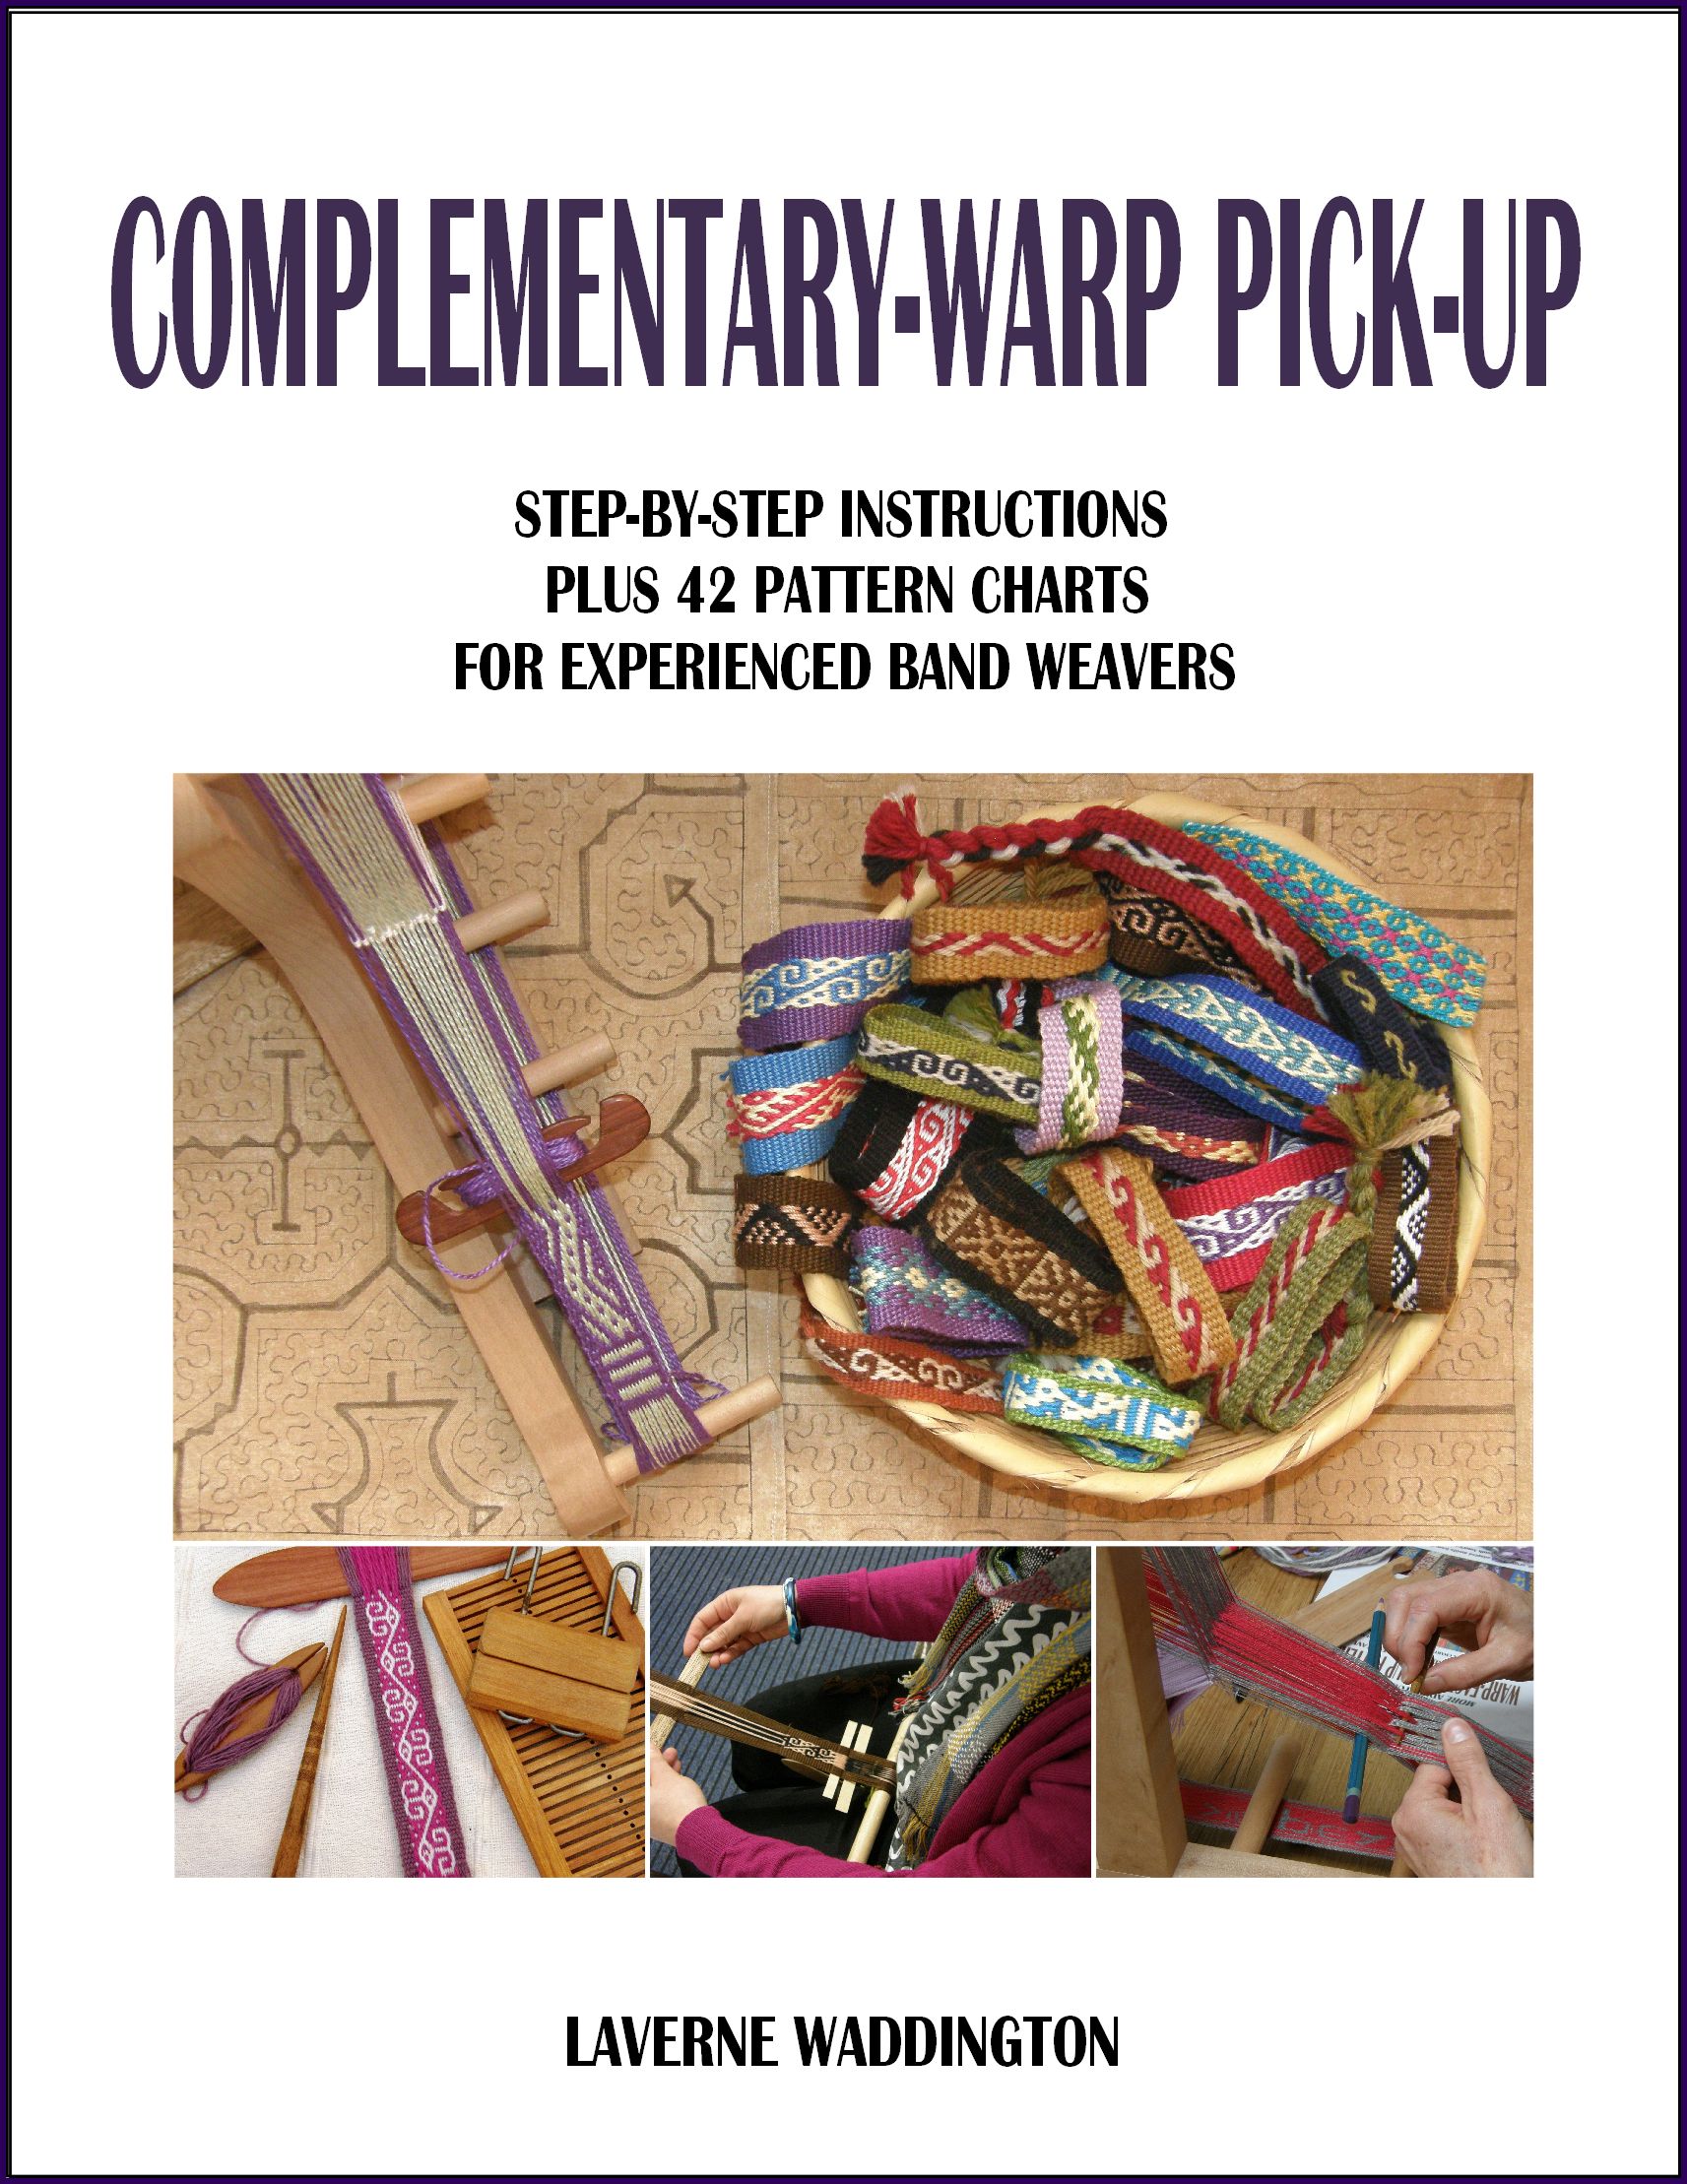
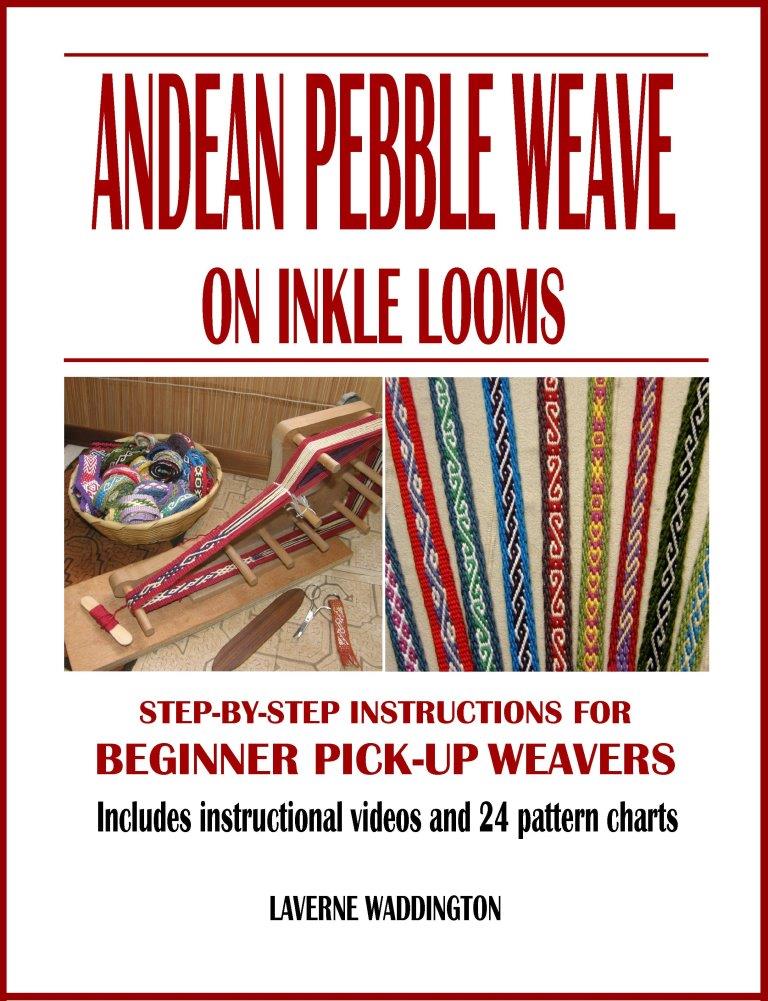
Intermediate level weavers (that is, those who know how to use their loom and weave good warp-faced bands) could start with my ebook on Complementary-warp Pick-up. Any loom that can give you two basic sheds and enable you to create a warp-faced band can be used.
For those who use what I call the ”standard” inkle loom, my Andean Pebble Weave on Inkle Looms ebook teaches method that are specially suited to this type of loom.
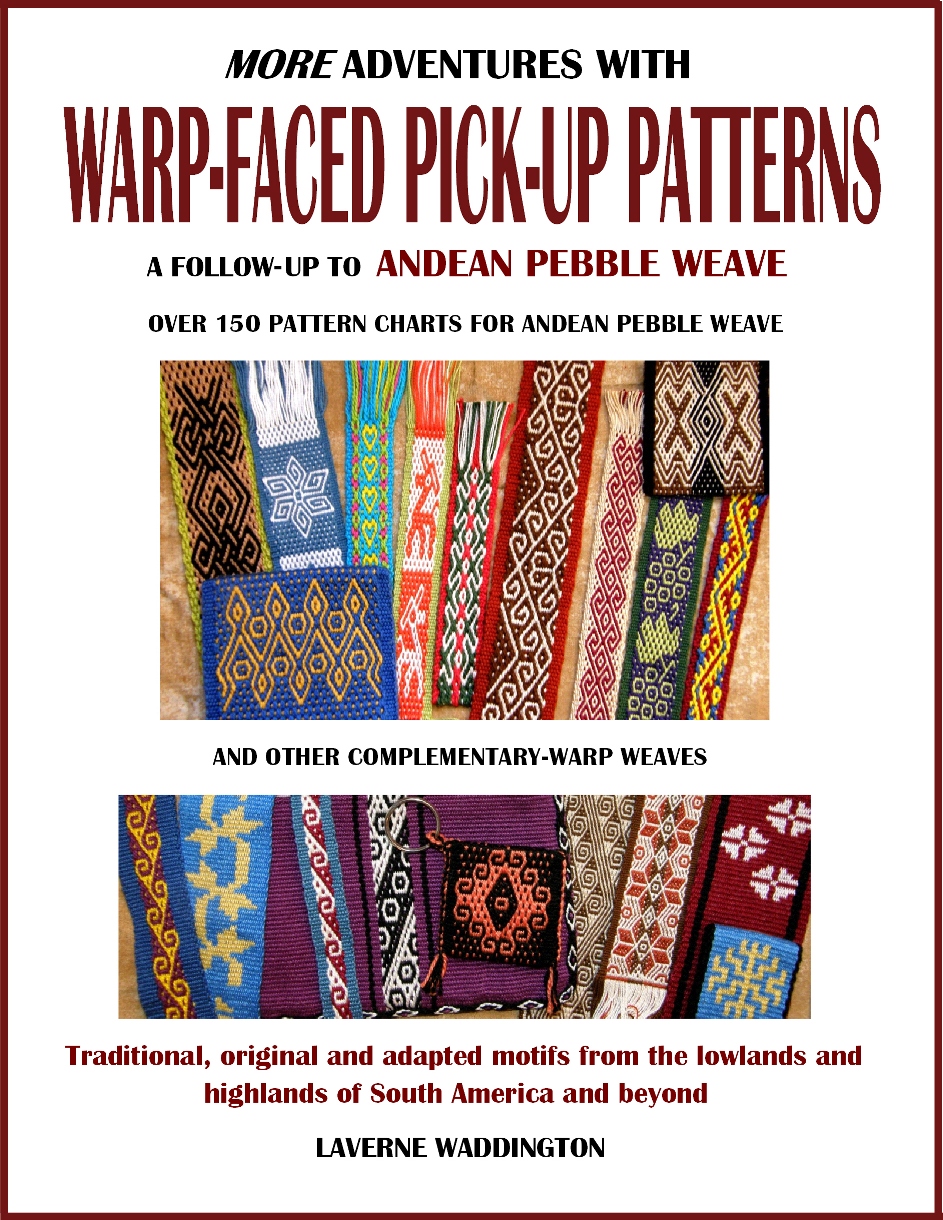
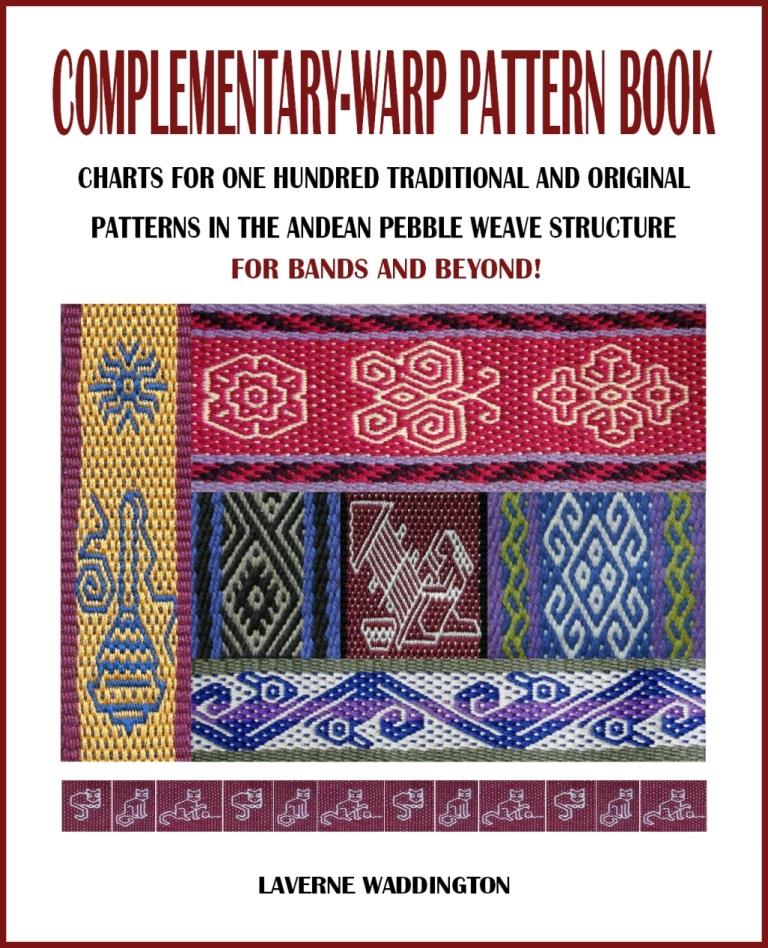
I have also published a follow-up pattern ebook for those who have learned the techniques from my other publications.
This page on my blog describes my publications and will help you decide which book best suits the kind of loom you use, your weaving style and level of experience. (EDIT: Two more publications have been added since I wore this post).


What a marvelous addition to your blog! This is going to make following and learning the different techniques so much easier!
Thank you, Caroline.
By: Caroline on August 27, 2010
at 7:57 am
Thanks Caroline,
This has been here for a while. I guess I should do a better job of announcing it!
By: lavernewaddington on August 27, 2010
at 12:49 pm
[…] voilà partie dans le tissage. J’ai commencé par la technique Backtrape weaving : Technique apprise avec les tutoriaux de Laverne Waddington. Passionée du backstrap […]
By: Comme l’un ne va pas sans l’autre… | Les passions de Carine on October 6, 2010
at 9:52 pm
I’m trying the simple warp floats method. What does the back side look like? Does it repeat the pattern in reverse or is it relatively plain?
By: Kathleen on November 9, 2010
at 3:19 am
In the simple warp float technique the pattern is not reversed on the back. The weft is exposed on the back and you will just see a shadowy image of the design that you wove on the front. Here is a link to one of my blog posts where I show pictures of the front and back of a design….
By: lavernewaddington on November 9, 2010
at 3:31 am
Dear Laverne,
I have made my first narrow practice band using Royale 3 cotton and am now making myself a backstrap following your instructions and using Tahki mercerized cotton. I have also reached a point where I feel like I am not fighting the loom anymore, like it is part of me and together we can get the sheds to open!
I am writing just to tell you how much I am enjoying this and to thank you for your tutorials, which have made it all possible.
I would like to attach some photos of what I have done, but am not quite sure how to do this.
Once my backstrap is done, I want to do some key fobs and practice the supplementary weft technique. Would it be possible to use the Royale 3 for those?
Cheers!
Linda Clum
By: lindaclum on January 19, 2011
at 9:12 pm
Hi Linda,
I saw your comment on my Backstrap Basics article on WeaveZine and replied to you.. It’s nice to see you here too. I am so glad that you have found the Tahki Classic Cotton. I think it is beautiful and ideal for making a backstrap. Good that you have made the transition for “fighting” to “coaxing”! Royale number three for a supplementary weft band is ideal. Doubled strands of embroidery floss will work well with that weight yarn. I wrote a more detailed response to you on WeaveZine with a couple of tips.
Please email your pictures to me. I would love to see them and show them on my blog as well if that is okay. You will see my hotmail email address below my profile picture in this reply. Thanks so much for the feedback.
By: lavernewaddington on January 19, 2011
at 9:24 pm
So sorry to use your blog for this. But I don’t see your email address below your photo. Is it lavernewaddington at hotmail? That bounced back.
By: Linda Clum on January 19, 2011
at 9:53 pm
Well that’s interesting. Seems only I can see it. I can see yours so I will email you 🙂
By: lavernewaddington on January 19, 2011
at 10:08 pm
Dear Laverne,
Another question: in one of your posts you mention a mini portable warping board or tool. I am interested in this. Is there a post where you have a photo of it or where you discuss how you made this?
Many thanks,
Linda
By: lindaclum on January 20, 2011
at 5:04 pm
I talk about that mini warping set up in this post:
I show the components but don’t go into any real explanation. I think you will get it when you see the picture. When you drill holes for the screws make them just big enough so you have to turn the screws to get them in. If the screws pass cleanly through the holes, the holes are too big and you will get a bit of lean when you warp. I cut the plastic straws that come with balloons to cover the screw threads and thus protect the yarn.
By: lavernewaddington on January 20, 2011
at 5:15 pm
Dear Laverne,
Thank you for the recent posts about the backstrap loom bag; I have some questions about that and some other miscellaneous questions, that others may have, as well. Here they are:
1. For the bag, you wove 4 pieces, a front, back and 2 sides and the zipper is in the side, correct? Then you hand sewed them together making seams?
2. Is the flap for the top of the bag rounded? I seem to remember you discussed that in an earlier post, can you tell me where the instructions are for that?
3. Re: mini warping board: how long is your base piece of board? And how long is the warp winding area? How many screws/posts do you use? 3 or 4? Does it fit in your backstrap loom bag?
4. For the key fobs/bookmarks, about how wide are your warps? 1-2″?
Hope these questions aren’t answered in other posts, and I have overlooked them.
Thank you,
LInda
By: lindaclum on January 25, 2011
at 4:32 pm
Linda…answers to your questions..
1. Yes. They are sewn together side by side with virtually no overlap.
2. The bag is square cornered not rounded. My cell phone pouch had a rounded flap. I cut the fabric and sealed the edges with diluted white glue and then sewed a protective woven band over the edge.
3.This mini warping board was not really planned. I used a piece of wood that used to be a really long shuttle for my Navajo loom. It measures 19″ by 1 3/4″. I have five holes drilled in it for different lengths of warp. You only need two screws for most warps. I do four-stake warping for complementary warp weaves and only then add another two screws in the middle. It all fits in my loom bag even with the screws in place.
4.My bookmarks are on average 1 1/2 – 2″. Bookmarks come in a wide variety of widths. That’s kind of a personal choice.
By: lavernewaddington on January 25, 2011
at 4:54 pm
Laverne,
I have just finished a bookmark, my first. Is there a place on the blog where you discuss finishing?
I want one end to be fringe, do I just leave it in fringe, or do I do some kind of stitching to hold the last weft shot in place?
On the other end, I wanted to end without fringe, but did not do it correctly, so now I have about 1″ of warp loops where it went around the dowel closest to me. What shall I do with that end?
Thanks,
Linda
By: lindaclum on January 31, 2011
at 6:17 pm
Linda, if you want to have one end with no fringe you need to start the weaving the way I show in FAQ 12. Look on the side bar and you will see a link to that page. It is too late now to do anything about that now and you will have to have two fringed ends for this bookmark which is not uncommon. I wonder if you saw Doramay Keaseby’s bookmarks in the latest issue of Handwoven. She has two ends with short fringes. On the other end, I usually hand sew back and forth across the bottom with tiny invisible stitches so that the weaving doesn’t unravel. If you are neat and even sewer you could make the stitches visible (or use a machine). Then I just cut the fringe to the desired length.
By: lavernewaddington on January 31, 2011
at 6:28 pm
[…] also been played with backstrap weaving, following Laverne Waddington‘s brilliant instructions. So far I’m only partway through step one – backstrap […]
By: The post that got away « Fibres of Being on March 25, 2011
at 12:37 am
Hello! Please check on the server where the backstrap project is posted! I am ready to weave my backstrap after making the rest of the loom and so bummed that I can’t get onto the page now. I can’t remember how many times to wrap or how long to make the warp for a good fit. Thank you! Your tutorials are the absolute best and cheaper than traveling to my country. Btw, do you have any resources on designs from El Salvador? Anything in English or Spanish or images would be so appreciated.
Thank you, Rebekah
By: Rebekah on June 24, 2011
at 4:21 am
Hi Rebekah,
Sadly the WeaveZine site will be down for a few days as a server upgrade went bad but fortunately you can still view the text and videos in the Google cache. You won’t be able to see the photos. If you are using the same heavy yarn that I used you should measure yourself from the side of your hip around your back to the side of your other hip and add 30% for take up. Then add on 12″ which will be for the 6” of braids at the both ends of the backstrap. That will give you the length of your warp. The amount of take up varies according to the thickness of the yarn. It does not have to be exact as you add cords to the ends of the backstrap to attach to the loom bars. I take a bunch of backstraps when I am teaching and my students of all sizes can use them just by adjusting the cords.
Here is the link to the Google cache…
http://webcache.googleusercontent.com/search?q=cache:UlINypu5V8IJ:www.weavezine.com/content/backstrap-basics+http://weavezine.com/content/backstrap-basics&cd=1&hl=en&ct=clnk&gl=us&source=www.google.com
By: lavernewaddington on June 24, 2011
at 1:13 pm
Do you have an article already on understanding the measurements of yarns? Every brand here (US) seems to have a different method. How do the crochet measurements correspond to wpi?
By: Rebekah on July 6, 2011
at 6:04 am
Rebekah, you might find the information you are looking for here…
By: lavernewaddington on July 6, 2011
at 12:45 pm
I forgot to answer your question about El Salvador. Unfortunately I don’t know anything about designs or crafts from there. Are you from there?
By: lavernewaddington on June 24, 2011
at 2:57 pm
Yes my family is xinka-lenca from Comasagua. I am trying to recreate our old traje for myself and my daughter but with very little information and no images. I only know the refajo is multicolored probably with batik symbols and the huipil is a brown color that doesn’t match (maybe a natural brown cotton?). I am pretty certain one of the symbols would be an arrow shaped plant/tree. It was worn still in the last 50 years by my father’s memory. If anyone has knowledge on any weavings from El Salvador please email me at Rebekahcrisanta @ hotmail.com. Thank you
By: Rebekah on July 6, 2011
at 5:52 am
WeaveZine is back and so you can now see the Backstrap Basics article in its entirety!
http://www.weavezine.com/content/backstrap-basics
By: lavernewaddington on June 24, 2011
at 3:01 pm
Hi, I am trying to weave the horizontal stripes project. I have wound the warp three times now, and everytime after i gather all one color over one cross stick and all the other color over the other cross stick, and after i get the heddles on i wind up with a really tangled warp. i switched to a yarn that has some slip to it, which helps, but i still end up with all these crazy tangles. Is there a remedy to this? Is there some easy trick to avoid these tangles? It’s like they need to be combed out or something.
By: peter boyce on January 11, 2014
at 9:18 pm
I would love to help but I really don’t understand the problem. There must be something you do wrong when you sort the two colors into the new cross or when you are making the heddles. There shouldn’t be any tangles. When you say that you “gather all one color” I am not sure what you mean and that might be where the problem is. I am assuming that you wind the two colors together when you are warping. You need to save the cross and then take each thread one at a time and place them into a new cross. From the first two-color pair take one thread of color A and place it on one finger and then one thread of color B and place it on another for the new cross. Then go to the next pair and do the same and so on. One by one by one.
By: lavernewaddington on January 11, 2014
at 9:48 pm
Thank you so much for taking the time to write back! You know, I watched your video about warping on four stakes. I warped that way this morning (using two small bed side tables turned upside down and pushed together snuggly) and now I have successfully began to weave the horizontal stripe project. Yeah, the other way, warping the two colors at once on only two stakes and then forming a new cross by separating out the two colors thread by thread was not working for me. I just couldn’t keep it straight and it kept turning out tangled. Anyhow, lesson learned. Thanks again!
By: peterheb on January 13, 2014
at 12:35 pm
And rereading your reply now, it makes a lot of sense. I think I could probably go a little slower doing it the other way (string by string, making a new cross) and get it right. I guess I was just going about it wrong. Anyhow, the 4 stake method is great!
By: peterheb on January 13, 2014
at 12:38 pm
Holaaa. Bellísimo todo lo que realizas y compartes. Me impregno de una cálida energía que viaja por mis sentidos. Decirte Gracias!!!
By: Monica Bastías on October 29, 2014
at 5:32 pm
De nada, Monica!
By: lavernewaddington on October 31, 2014
at 3:29 am
Hola, tus trabajos son maravillosos, me encanto ver todo lo que haces, una pregunta, soy de chile y estoy tejiendo con telar mapuche…el tejido que resulta con el telar de cintura es similar ?? Encontre muy practico y portable el telar de cintura. Muchas gracias y te felicito nuevamente.
By: Alejandra on November 1, 2014
at 3:21 am
Hola Alejandra. Gracias! Si, puedes usar el telar de cintura para crear los tipos de textiles que estan tejido usando telar Mapuche. Son textiles faz de urdimbre…urdimbre complementario, suplementario o doble faz/tubular.
By: lavernewaddington on November 1, 2014
at 3:58 am
Buena técnica felicitaciones por darnos estos tutoriales que tenga un buen día, Un abrazo.
By: gonzalo alberto on January 16, 2015
at 1:07 pm
I’m staring at the blue piece Jen wove that is pictured at the end of the Comb Designs section of this tute, examining the change in the pattern in the central band part-way through the weaving. I charted both patterns and tried to picture what would have been needed in the warp, but they don’t seem the same. Can you put me out of my misery please? 😉
By: Textile Trails on February 2, 2015
at 8:30 am
Hi Wendy, I would need to double check with Jen but I am pretty sure that the pattern you see at the bottom of the piece, which is the start of the weaving, is a mistake which she realized she could fix. She did so and on she went and then got the pattern that she really wanted with all the light squares touching each other rather than being separated.
By: lavernewaddington on February 2, 2015
at 1:18 pm
Hello Laverne,
I have been following your tutorials and am now working on supplemental warp designs.
I run into a problem with lining up the warps after transferring them from the warping pegs. They get crossed from top to bottom and make it difficult to create the heddles. Oftentimes I have made the heddles, only to discover there are warps crossed and have to undo the heddles and painstakingly re-align the warps.
Since I am working with short/small pieces, it is not so bad, but on longer pieces I can’t imagine how one would go about setting everything straight. As it is now, I lean over and adjust the top warps accordingly, but it is still not working out so well.
Any suggestions would be greatly appreciated.
I am in Eugene, Oregon. I saw that you attended the Black Sheep Gathering (last year?) I wish I had been here to meet you! I am relatively new to weaving and have enjoyed your website and tutorials. Thank you for sharing your knowledge and time!
Kris
By: Kris on April 30, 2015
at 7:36 am
Hi Kris. What is happening at the two ends of the warp is of no importance when it comes to making your heddles. You should save your cross on a pair of sticks when you have finished winding your warp. Tie, tape or rubber band the sticks together and have them positioned in the center of the warp. Put safety strings around the warps to hold the spaces that the warping stakes occupy. Then, remove the warp from the warping stakes and tension it so you can make your heddles. With the cross sticks in place, the warps cannot get muddled in the spot in which you are working. Make your string heddles around the threads on one side of the cross and tie a shed loop around the threads on the other side. Pay attention to the order of the threads as they lie along the cross sticks as you make the heddles. If you have crossed threads when making the heddles it simply means that you picked up a thread out of sequence.It has nothing to do with threads being crossed over each other at the ends of the warp. You should be working at the center of the warp where your cross sticks are when making the heddles and ignoring the two ends of the warp.
Once the heddles have been made, you can then work on straightening out the threads at your end of the warp so that you can start weaving. A little extra care as you remove the warp from the warping stakes will minimize the amount of time youneed to spend on that task.
I have never been to the Blacksheep gathering. Some of my friends go every year. I will, however be in Portland in mid May.
By: lavernewaddington on April 30, 2015
at 3:42 pm
Thank you for the quick reply and helpful suggestions-I see now that working at the center near the cross sticks makes much more sense! I have been working closer to the end warp.
I sometimes am hasty when removing the warp from the stakes too!
By: Kris on April 30, 2015
at 5:56 pm
There is so much information that I am almost overwhelmed! I was so excited to find your video, then I found your books, and now this! I can’t wait to get my loom and go through all of this information!
By: Jenell on November 30, 2018
at 7:57 pm
Hi! I was wondering if you mind if I reference this page to show off how I made a mistake on one of my first weaving projects. Specifically, the images
of how the warps are tied in the vertical and horizontal stripe section really opened my eyes and helped me realize a couple of things (specifically how a back strap looms warping differs from a traditional loom and why the pleasing technique I found elsewhere for tying warps made weird but regular non-pattern stripes in my piece @.@). I want to link back here, but even if I just link to the images I really wanted to ask first and make sure it is ok with you and that I attribute your work properly.
Thanks!
Avi
By: avitaylor on March 11, 2019
at 4:19 pm
Hi Avi. Yes, that’s fine by me and thank you for asking.
By: lavernewaddington on March 11, 2019
at 4:21 pm